Again WW1 but this time 6mm! and the home made rules "Bloodbath" I call them (working title).
And the opening fights leading to the Russian disaster at Tannenberg, the battle of Gumbinnen/Stalluponen. Where actually my Grandfather participated under the 41/5th East Prussian Regiment.
Bart was too happy about it as he could fight Russians! As he re-read the historical battle report he was the more happy to go along and fight for every square meter and make a stand.
Me and Andrew were the perfect incarnations of the indifferent Russian nobility and shared the command over Rennenkampfs corps ... what could go possibly wrong.
We learned with the rules and like the historical commander we send troops in BEFORE the artillery had done its deed... who cares about two divisions ...
That should cost us greatly, I hadn't fixed any victory conditions as we were all learning the rules, but the Russian casualties piled high from the get go...
In the end we cleared Stalluponen Once!!!, one turn... thats it. High peak of our performance, the Germans lost also nearly all their front divisions, but to the price of our double (2:1) ratio.
Congratulations Bart, you defended East- Prussia ...
 |
| Initial set up |
 |
| Main defence of the German line |
 |
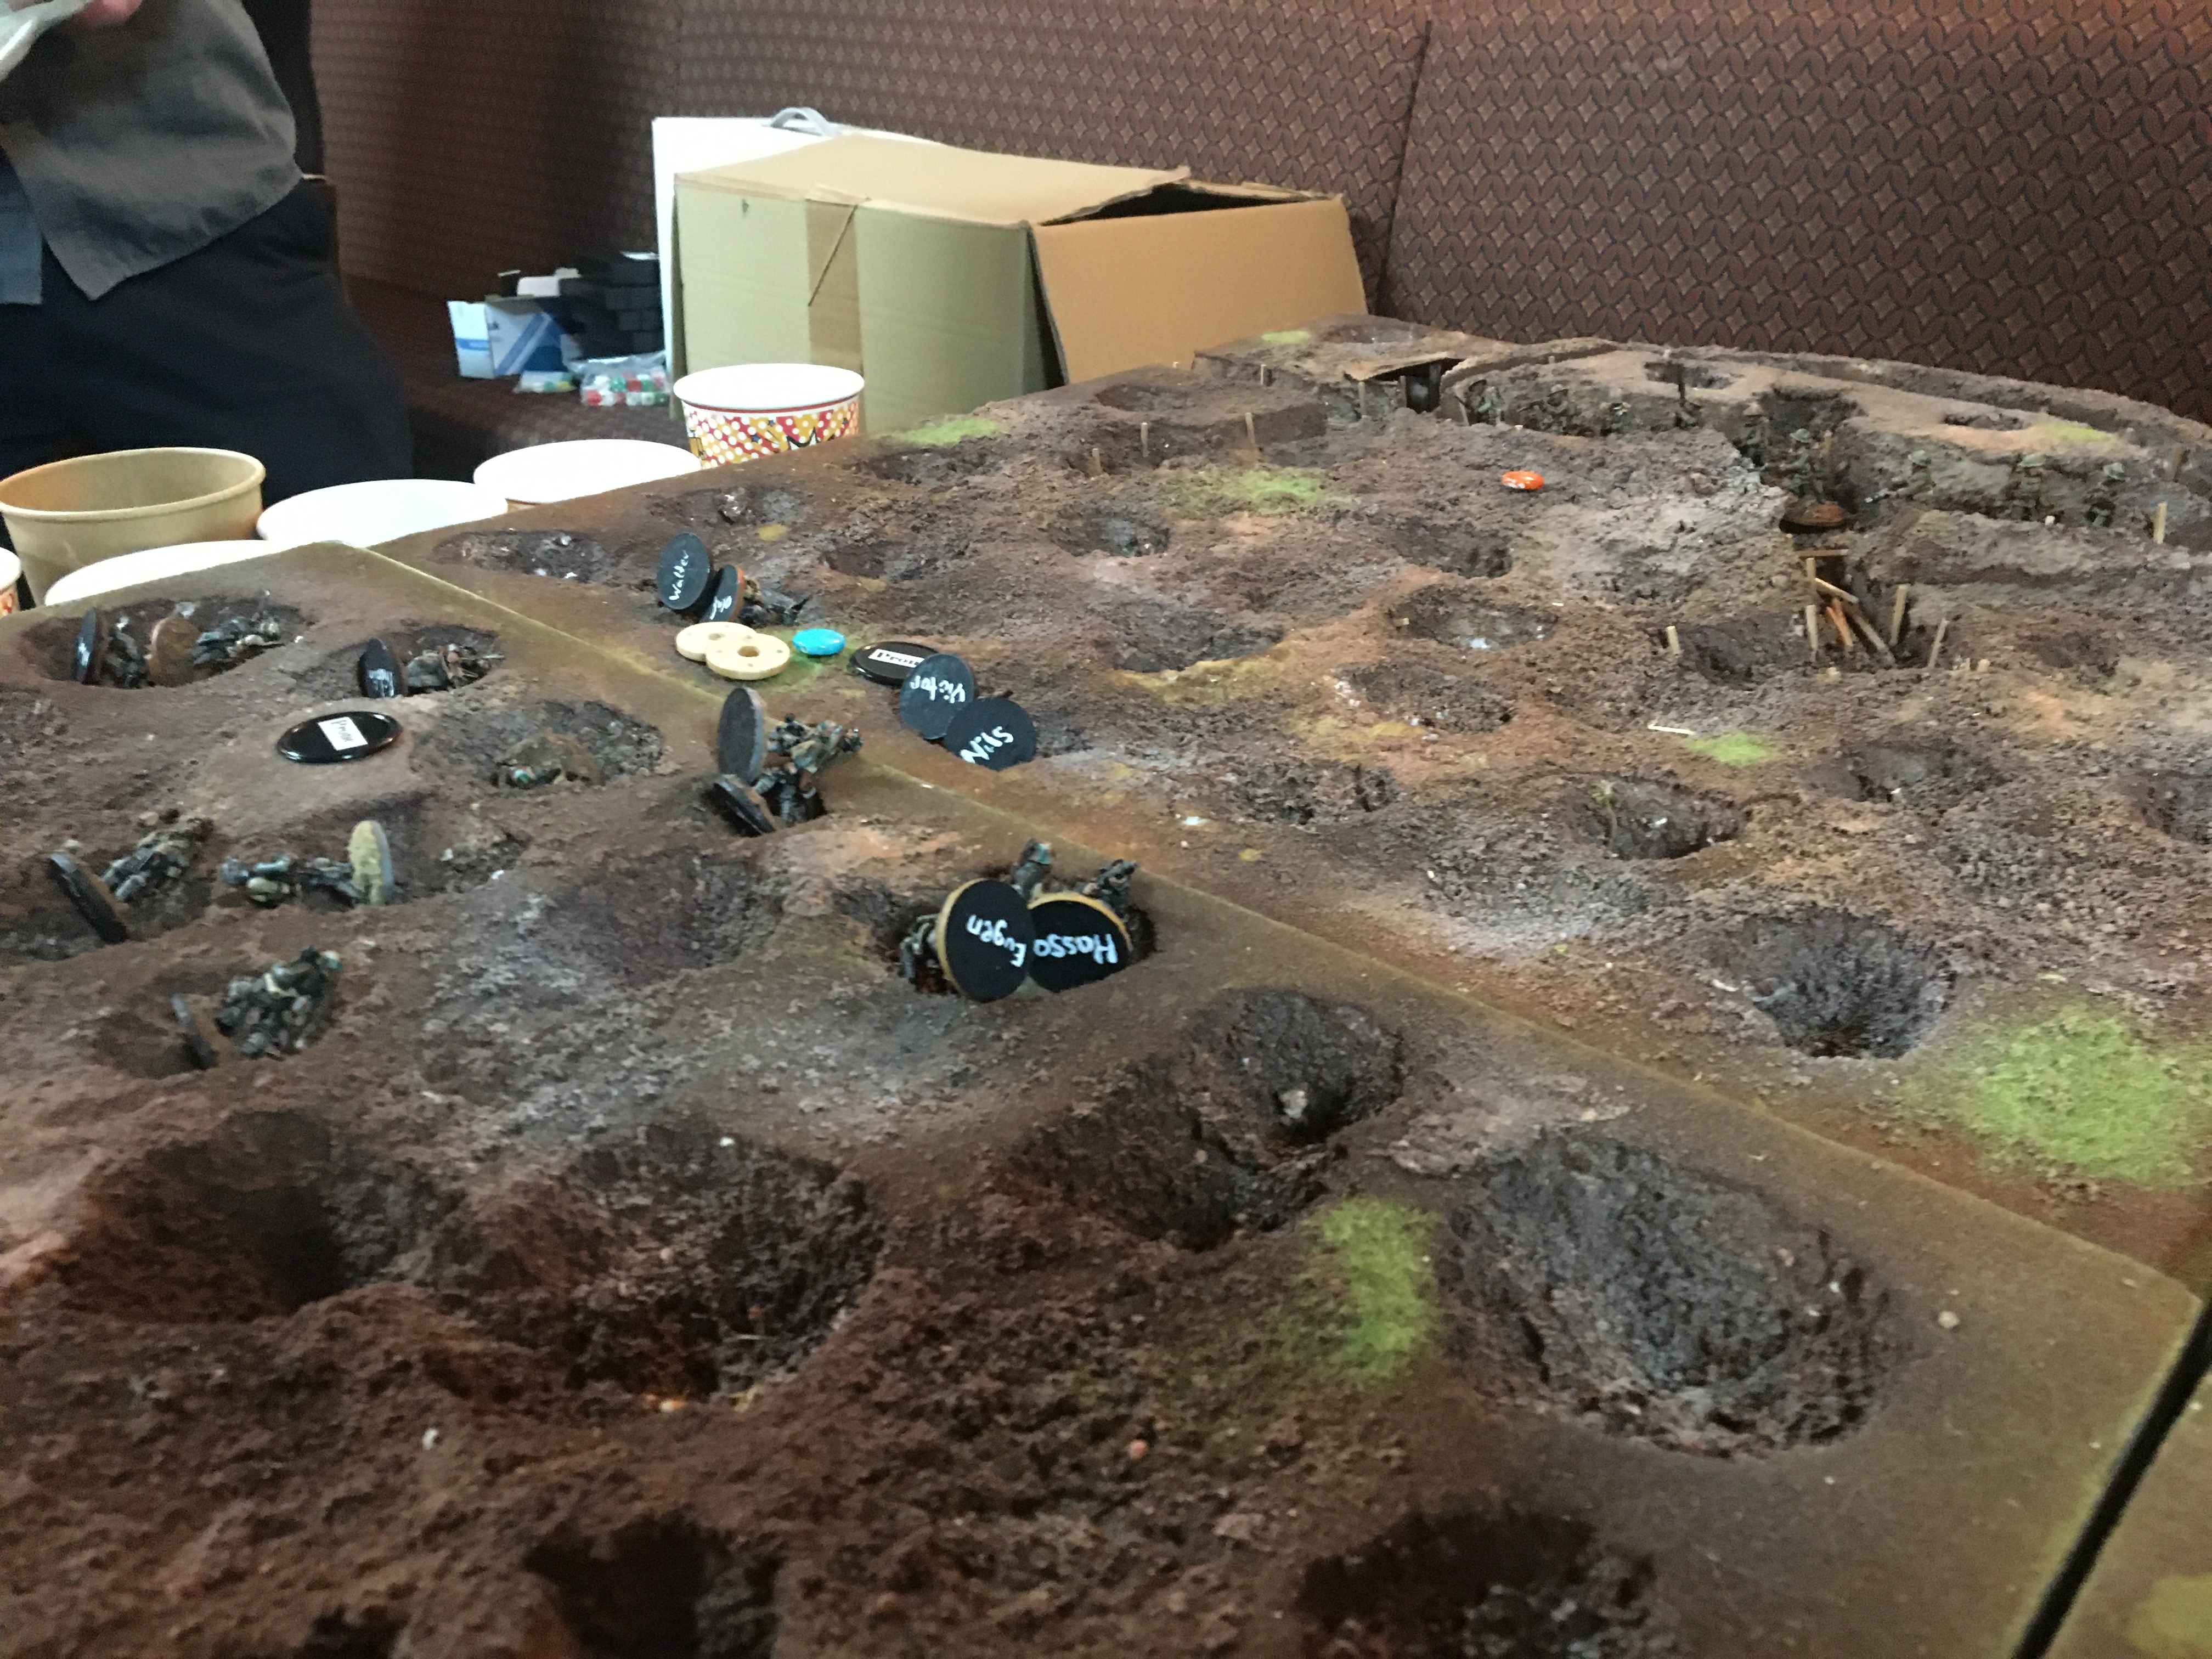
| Fictional HQ of Rennekampf |
 |
| The Russian set up |
 |
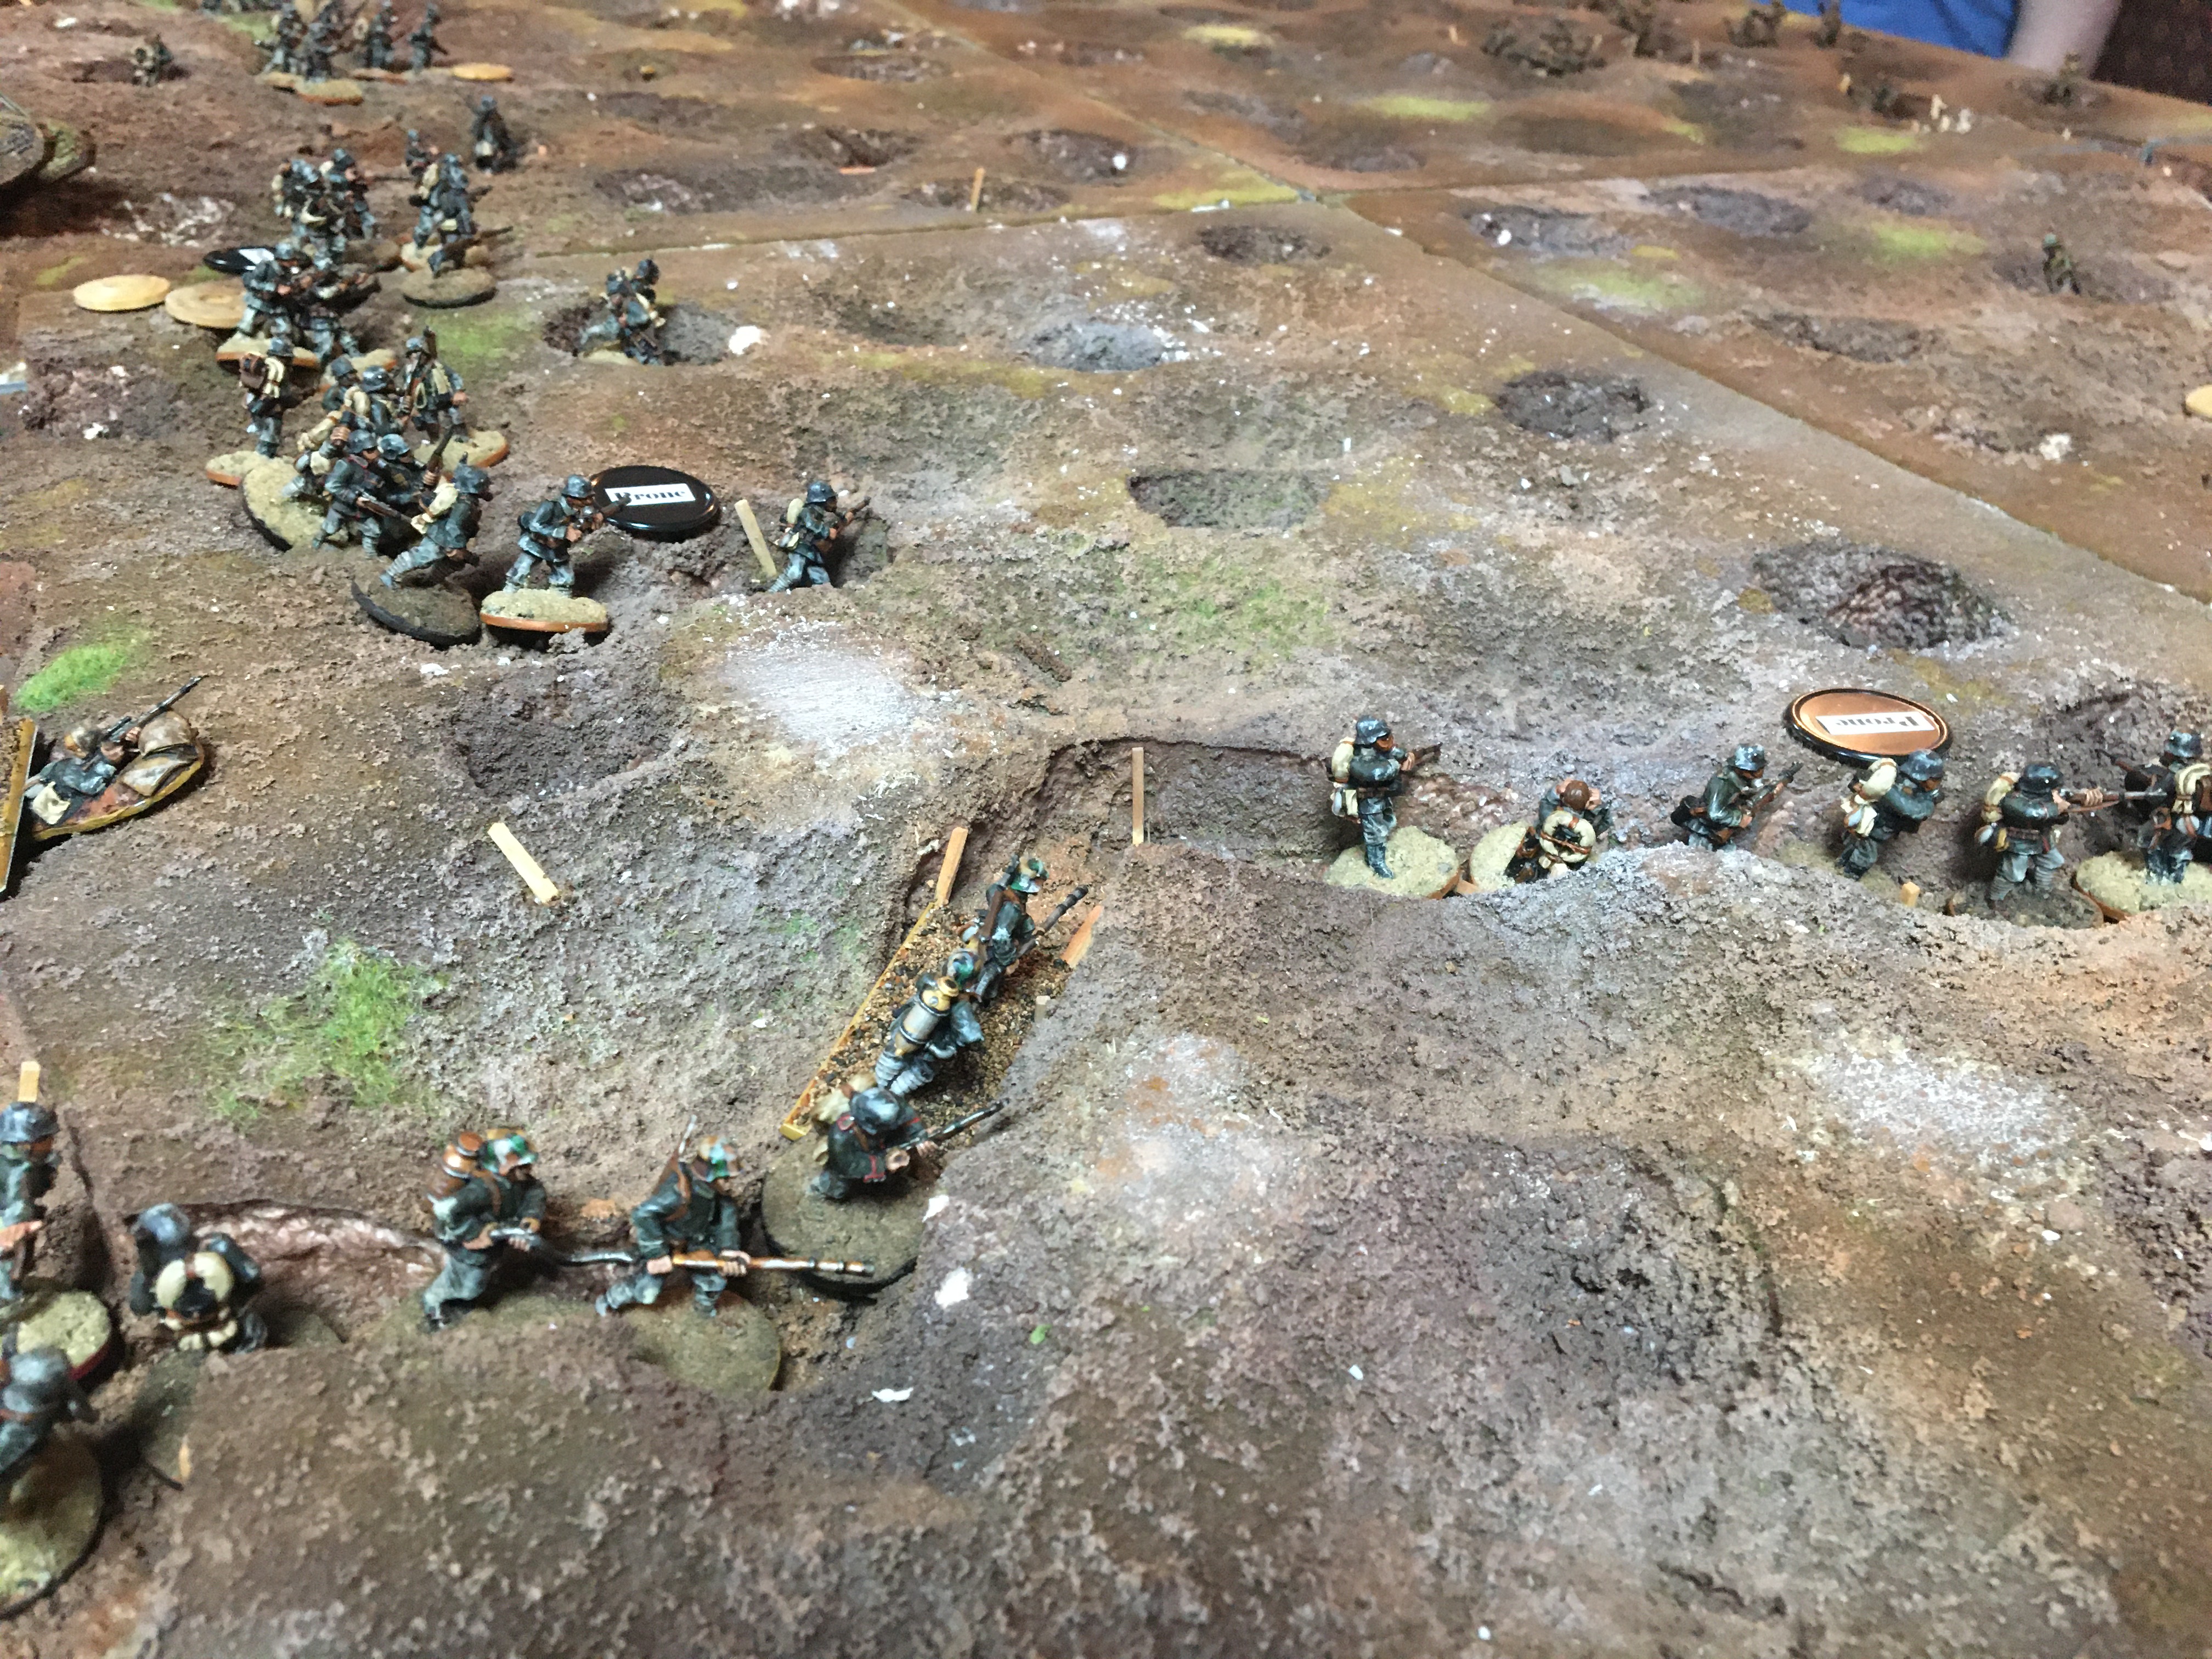
| The German defence stand |
 |
| And their reserve |
 |
| The Russian advance |
 |
| All good in the Hinterland |
 |
| First turns we let them be ... |
 |
| Andrews north attack came first under fire |
 |
| then my south pincer movement stalled ... |
 |
| Then we changed tactic ... |
 |
| Halted the pincer and ... |
 |
| ... took out their guns ... |
 |
| They had longer ranges, but we had more guns ... |
 |
| the centre became under rising pressure ... |
 |
| still no reserve was called in apart from cavalry |
 |
| then my south attack hit home ... |
 |
| to a terrible price ... |
 |
| we stalled the pincer and barricaded into the forrest |
 |
| At the end we had the village just a turn ... shambles... like in history |