Thursday 30 August 2018

1758 right after Hochkirchheimhausen near Hesse-Cassel

We decided to give my Seven Years War rules ("Seven Years") another go. 28mm, my AWI Brits and Hessians against Angus‘ Frenchies. This time Bart (Brits and CinC) and Mike (centre brigade) and me flank (Hessians) were fighting for the allies, while Angus (centre), Mark (left French flank) and Alistair (right French flank) were fighting for the Bourbons.

After initial running up, the fight fast closes in around the centre village and the left (Barts) flank. Lots of shots and enfilades were exchanged and Bart did one or more of his famous charges ... but at the end he gave all command dice (the staff officers) to me and said here, you must decide the battle ... so I guess in the end it didn't went that well.

On my side I had Alistair in a good check, as we both agreed that we were the defensive part of the battle field. So for a long time apart from moving no charges happened. Until proposed a (typical German all or nothing move) to split the command chain of the French into two ... it was mildly successful ... but not for longer than one turn ... so really not ... in the end ...

...and then after a time Bart said I had to attack to "turn the tide" ... to prevent a draw... well you can guess, I routed an infantry with a light Artillery attached, that detachment was a kill (as Artillery break when they are routed) ...hsmmfhh ...

So we agreed on a draw ... as our lines really looked not so much sustainable in the long run.
But the BUA test was good and successful, and the reception gets better and better.

Maybe I should think about getting the PDF at some time ... ;)


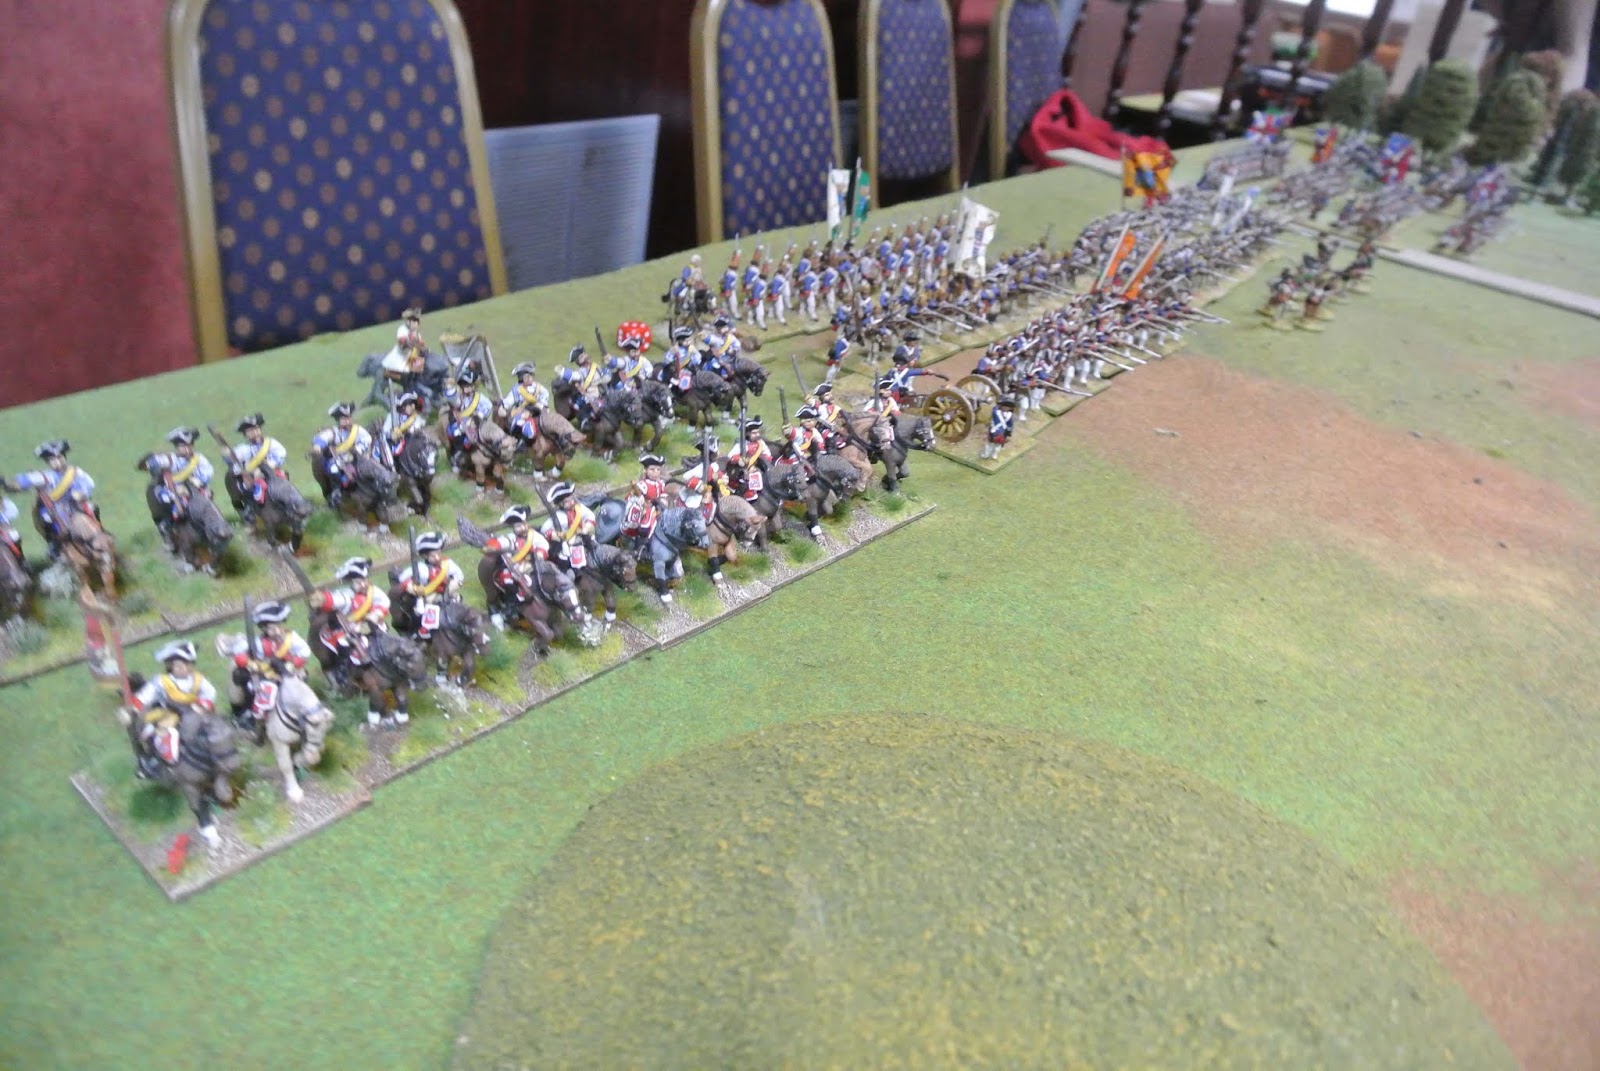
My cavalry and the centere Hessian Brigades

Barts flank the British Brigade, the British Cavalry(allied) and the British Gun Battery

Opposite of Bart Mark‘s French cavalry and two Brigades

the other French Brigades under Alaistair‘s command

Hochkirchheimhausen under French attack

The Lines are close in

Angus‘ Hanoveranians on French side (???)

The Frontline clashes along the middle of the "Dorf"

"Built-up-Areas" were heavily tested today

The Rhinelanders are gonna get it ...

Full close up volley ...

my va-banque move didn't split the command trail of the French and my Cavalry had to retreat ...routed ....

The Dorf was the centre of heavy fights

... still 2 of 3 houses were in our hands ...

The volleys got more intense ... 
.. suddenly I got only one Cavalry unit left ... ups ...

Sunday 26 August 2018

Clash at Cobblers Creek 1779

This weekend we had a small Sunday game and after popular request, we opted for AWI (28mm Black powder, amended). Alistair played the British, while Peter lead the Rebels to Independence, while I pretended to be umpire.
Two supply brigades (and their respective support units) were clashing into each other, when the pickets heard from the Loyalist Cobbler that there is a Rebel camp nearby. The British brigade was spotted by the Patriotic Stock Bridge Indians earlier and they told the Captain of the Rebel Militia in the camp the whereabouts of the oncoming British. This is where the battle begins.

Both side also had a little extra reserve coming later (two Hessian Regiments at turn 4 and at Turn 5 two French line regiments).

I also gave both side 10 supply points in form of mulis, wagons or supply baggage. The one with the most supply points would win. Also if they managed to get their supply over the opposite short table edge it would double in points ...

Alistair kept true to his abysmal dicing form and had serious trouble forming somewhat of a line. Also Peter was plagued by a non-cooperative Militia for over 5 turns, as he was unable to move the main troops out of the camp (too much good food???). Additionally both players were plagued by two blunders that thrown their logistics into turmoil. Peter made over the creek and fought a complete British brigade including Grenadiers to a standstill, which is a feat in itself. His attack on the Cobbler house though, were fought off easily by the British Line. Alistair had severe issues with coordinating a comprehensive Line of a whole brigade, but he advanced with his LI (and some supply mulis) the deepest into enemy territory.

At the end we had to pack up and time was running out so we called it a draw. Both players had still their 10 supply points -  The Rebels lost one unit, but the British centre suffered a lot. Lots of occasions, I counted, when some supply wagons were dangerously unprotected - but nobody seemed to took notice. 

If we would have continued, the British would have a greater chance to win than the Rebels, as the tough British LI was steadily eroding the Continentals and the pickets with the mulis were not far behind. But salute to Peter he had managed practically with a half of the army to block all the British (as his Militia JUST didn‘t want to move). So Bravo to both players, they both fought a hard battle! And Alistair can claim he did not loose the Battle.

The set up map

The initial set up

The Loyalist Cobbler who rat the Rebels out to the Dragoons

The Militia Camp that would not rise to the challenge

The American and French Brigade off table

The British Main brigade and the Hessians off table

The Americans come in first

then a turn later the British come in

The Continentals advance towards the river

The British consolidate behind the Cobblers House

The Rebels take the old bridge and deploy their grasshopper gun there

The Loyalist Home is just made out of wood!!!

The British advance slowly

and the grasshopper gun peppers the hut

Then the French are coming!!

And the 17th Dragoons are clashing with Washingtons 3rd

The front lines are forming

The Continentals are staying steady in British fire

The hut is almost destroyed

The Rebels 3rd Dragoons are exposed to withering fire

The British Light and some continentals are locked in a fire fight over the creek

Bothe lines are taking withering volleys after volleys


Saturday 25 August 2018

Rolfs Last Stand, At 850 Ad, somewhere near Normandy


It was about time to let the Normans and Vikings out again, so me and Bart decided to continue the "Markgraf" saga of Rolund and Henri the Red. (28mm, Hail Caesar).
In the last battle Henri (Norman), played by my, had secured a victory over the combined forces of Rolund (Norman) and Rolf (Viking), played by Bart. So this time Rolfs Vikings will have to make a final last stand surrounded by the Henri‘s Retinue and the low life follwers of Bishop Luitpolt Der Pickelige (the pimpeled). After a couple of turns Rolund rescue party will arrive.

We had the number of turns rolled secretly by another club member so that no one of us could possibly know when the forces will arrive. Unfortunately for Bart, he rolled the maximum number ...

So there and then enfolded a truly medieval massacre as my milites stormed the hill and attacked the Viking shield walls. (Note for next time: we will improve the shield walls and make them tougher against Horse attacks). Rolfs Vikings had no chance and were ridden down even before the Bishops rabble could run up the hill to join. (ah OK, some of the peasants were actually of help and attacked, but we edit this out of our Saga). Only the Berserkers could flee over the river and make a last stand.

Henri's army was a bit in disarray at that moment and proceeded to plough forward more or less successful. this was when Rolund‘s Forces (first the cavalry) arrived (on the 6th turn!!!). Too late for the late but great Rolf, he died on the hill, but not late enough to give Henri a bit of his own medicine.

The Bishop, played by Alistair, rumbled along with his peasants, and did a pretty good job of actually bind and contain large parts of Rolund‘s army. While my Normans charged downhill into the counter-charging Knights of Rolund. It was brutal, I lost one unit of Heavy Milites, but in the end Henri prevailed - victory again!!! Normandy is secured for the King again!

So he will rest and lick his wounds right there in a camp with his retinue and the rabble of the Bishop who survived this massacre. 

Rolund won‘t come back again so quickly after these two defeats, or will he? Rumours have it that he has again secured new allies, amongst them Raoul the Insane, a particular nasty fellow, even with the (very, very low) standards of his contemporaries ...


Initial deployment on smaller table

Henri the Red and followers

The Bishop and crew

Rolfs Vikings

Rolund‘s Rescue party off table

Rolfs Viking tease with a war cry

Then came the charge of my knights

The wave of the peasants

Rolfs situation is getting untenable

the last Vikings getting crushed between two fronts

Henri is hunting the last Berserkers 

Then Rolund‘s Cavalry comes in

Heavy Milites as well

So we must charge! (this is THE image of my understanding of a Norman charge)

... downhill into the little river

one of my knight units is gone, dead in the water

my archer sluggin behind

all scramble downhill!

the peasants advance ...